Three minutes before first pitch, one kid is throwing with his glove still half on, another is skipping every other catch because he’s talking, and the ball to first comes in like it was delivered by a leaf blower. Then the coach hits the first infield warm-up grounder and everybody acts shocked that hands, feet, and timing look off.
I’ve seen that movie a lot. Usually the problem isn’t effort. It’s that kids got “warm-up time,” but not an actual warm-up. Those are different things.
If you want cleaner defensive reps early, build a two-ball warm-up line before you ever start team grounders. It’s simple, fast, and gets kids doing the stuff they actually need: ready position, short feet, soft hands, clean exchange, and accurate throws.
This works especially well for baseball and softball teams at the youth level, but the bigger lesson applies anywhere: don’t ask for game-speed execution from kids who only warmed up their arms.
What the two-ball warm-up line is
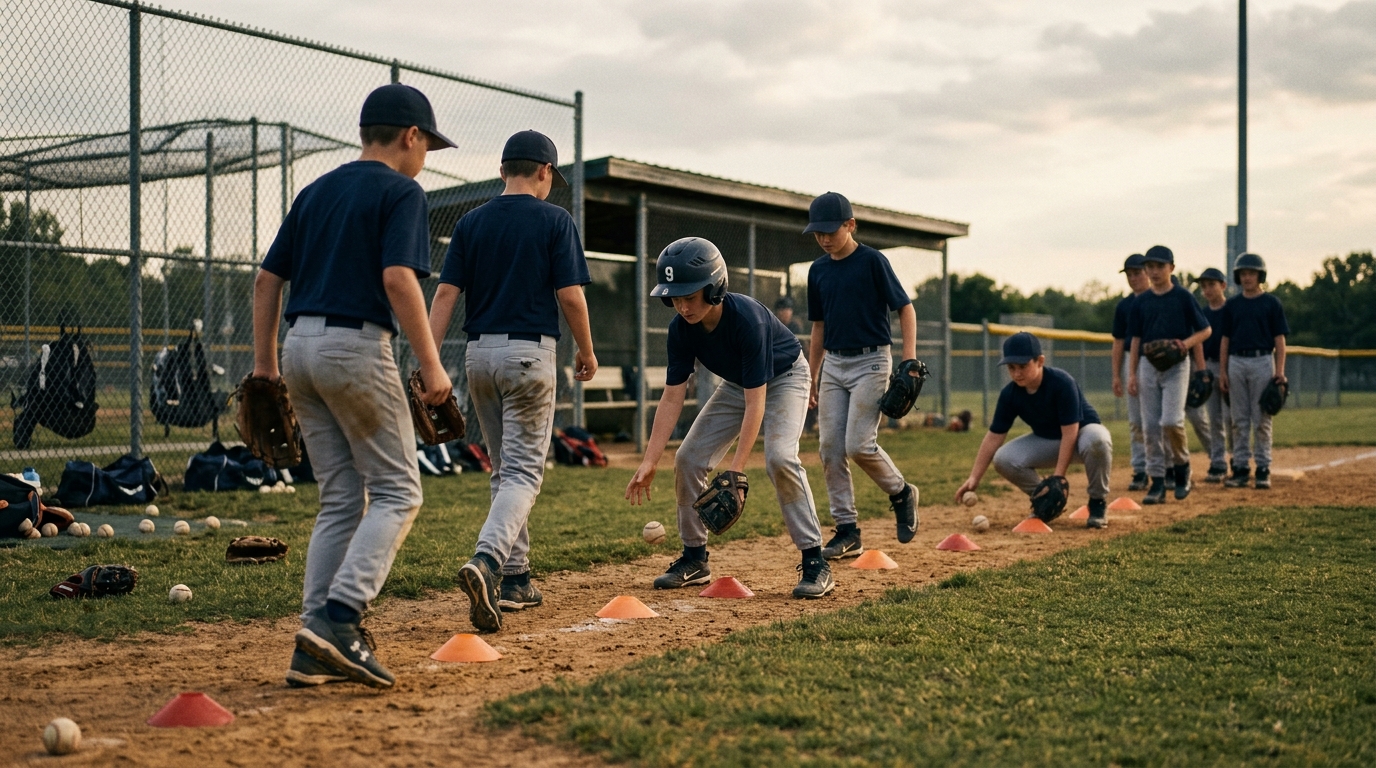
Set players in two parallel lines about 15 to 20 feet apart. Each line has one ball at the front. The first player in each line underhand rolls or short-hops the ball to the first player in the opposite line, who fields it, shuffles, and throws it back to the next person.
That’s it. Two balls moving at once. Everybody stays engaged because the line keeps moving and nobody has time to drift off into bug-chasing mode.
You are not trying to be fancy here. You are trying to get a bunch of quick, clean touches before regular throwing and full team defense.
How to set it up
- Distance: 15 to 20 feet for younger players, 20 to 25 for older ones.
- Lines: Two even lines facing each other.
- Balls: One ball starts at the front of each line.
- Gloves: On for fielders. Keep it game-real.
- Coach spot: Stand off to the side where you can see hands and feet, not just catches.
If your group is big, make two separate stations. Long lines kill rhythm. So does standing around.
The basic progression
Round 1: Smooth rollers
Start with easy underhand rollers right at the player. Let them settle in.
- Field out front
- Eyes down through the pickup
- Bring it to the middle of the body
- Short throw back with four-seam focus if they can handle it
This is where you remind them of one thing, not five. I usually go with: “Feet first, then hands.”
Round 2: Short hops
Now make it a little less comfortable. Bounce the ball so they have to read it. Not nasty. Just honest.
- Stay low without collapsing
- Glove out front
- Receive through the hop instead of stabbing at it
Kids love to reach. Reaching makes ordinary hops look hard.
Most fielding problems don’t start in the glove. They start a half-second earlier in the feet.
Round 3: Forehand and backhand step
Shift players one step left or right before the roll so they have to move into the ball. Keep it controlled.
- One or two quick steps
- Get the chest lined up if possible
- Field, reset, throw
You’re teaching approach more than range. At this age, clean angles beat diving effort nine times out of ten.
Round 4: Quick exchange
Once the fielding part looks decent, speed up the transfer.
- Catch it clean
- Get it out of the glove quickly
- Make a firm, simple throw
Not rushed. Just quicker. There’s a difference, and kids feel it when you say it clearly.
Why this drill works
It fixes a common practice mistake: jumping straight from loose catch into full defensive work. Catch warms up the arm. It does not automatically warm up infield play.
This drill gives kids repeated touches in a short window. That matters. Young players need a few reps to remember what being ready feels like. You can almost watch the light come on around rep six or seven. The body starts cooperating. Throws stop sailing. Gloves stop fighting the ball.
And because two balls are moving, attention stays higher. Nobody wants to be the traffic jam.
What to say while they do it
Keep your cues short. If you turn this into a TED Talk, the tempo dies.
- “Beat it to the spot.”
- “Glove out front.”
- “Soft hands, quick feet.”
- “Field, shuffle, throw.”
- “Don’t rush the easy one.”
That last one is a big one. Kids butcher routine plays because they start hurrying before they’ve secured the ball. Slow is smooth. Smooth gets quick enough.
Common mistakes to watch for
- Standing tall: They bend late and field under themselves.
- Stabbing: The glove attacks the ball instead of receiving it.
- Lazy feet: They wait on the hop instead of adjusting to it.
- Throwing before control: The mind races ahead of the hands.
- Lines too long: The whole thing loses life.
If it gets sloppy, make the drill easier for one round. Good tempo beats fake difficulty.
Where it fits in practice
Use it right after general movement and before full throwing progression or defensive team work, depending on your age group. It takes about six to eight minutes if you keep it moving.
A clean practice usually has a better middle. A better middle usually gives you a better finish. That’s true in almost every sport I’ve coached.
Kids don’t need a miracle warm-up. They need one that connects to the next thing you’re asking them to do.
So before you start spraying fungos and wondering why everybody looks half-awake, build the two-ball line. Get their feet under them. Get their hands honest. Then go hit your grounders.
You’ll still get a bad hop now and then. You’re coaching kids, not robots. But you’ll cut down the sloppy stuff that had no business showing up in the first place.